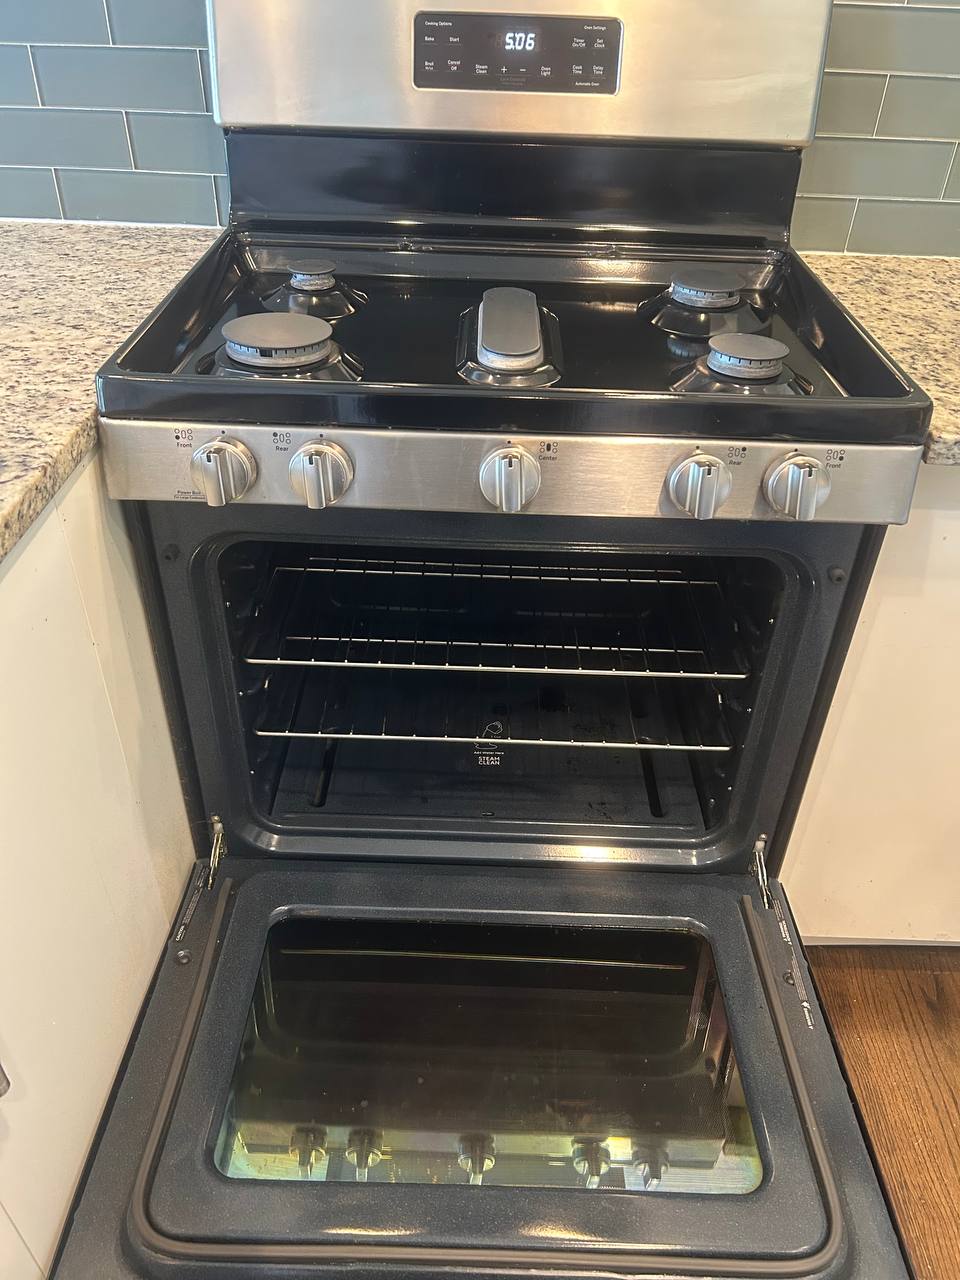
Nobody enjoys cleaning the oven. It's the job that gets put off until the smoke detector starts going off every time you preheat, or until you can't remember what color the racks used to be. But here's what I've learned after cleaning ovens in thousands of Chicago homes: it doesn't have to involve a mask, a can of fumes, and a splitting headache. You can get a genuinely clean oven with two ingredients you almost certainly already own — baking soda and vinegar — and a little patience.
This is the same low-fume method our crews use, and it's especially worth knowing if you've got kids, pets, or asthma in the house. Let me walk you through both the oven interior and the racks, because cleaning oven racks is a different job that deserves its own approach.
Those aerosol oven-cleaner sprays work, but they rely on harsh lye-based chemistry and they fill your kitchen with fumes you really don't want to breathe. The baking-soda method takes a little longer — mostly hands-off overnight time — but it's non-toxic, cheap, and just as effective for the everyday baked-on mess most ovens accumulate.
There's also a critical safety reason to think twice about commercial cleaners: do NOT use commercial oven cleaner on the interior of a self-cleaning oven. The interior of a self-cleaning oven has a special coating designed to withstand its high-heat cleaning cycle, and the caustic chemicals in oven-cleaner sprays can permanently damage that coating. If you own a self-cleaning oven, the baking-soda method is not just gentler — it's the safe choice. Check your owner's manual if you're unsure what kind you have.
Take the racks out first (we'll deal with those separately) so you have clear access to the walls, floor, and door. In a bowl, mix baking soda with a little water — a few tablespoons at a time — until you have a spreadable paste roughly the consistency of toothpaste or frosting. You'll need maybe half a cup of baking soda for a standard oven.
Spread the paste over the interior surfaces — the back, sides, floor, and inside of the door — anywhere you see baked-on grease and grime. Wear gloves if you like; baking soda is gentle but it dries out your hands. Avoid slathering it directly over the heating elements and the fan vent. Then walk away and let it sit overnight, or at least 8 to 12 hours. This dwell time is what does the work: the baking soda loosens and lifts the carbonized grease so you barely have to scrub.
The next day, take a damp cloth or sponge and wipe out the dried paste. It should come away with most of the grime attached. A silicone spatula or an old plastic card helps scrape stubborn dried paste out of corners without scratching. Rinse your cloth often and keep going until the paste is gone.
For any spots that are still clinging on, or any chalky baking-soda residue left behind, lightly spritz with a little white vinegar from a spray bottle. It will fizz where it meets leftover baking soda — that reaction helps lift the last of the residue. Wipe clean with a damp cloth. Do a final pass with plain water so no residue is left, and leave the door open to let it air-dry.
One important note: if you use any chemical cleaner in your oven, ventilate the room. Open a window, run the exhaust fan, and keep air moving. Even with the gentle vinegar-and-baking-soda approach, good airflow is just smart practice when you're cleaning an enclosed space you'll later heat up.
The racks are where most people give up, because scrubbing baked-on carbon off metal bars by hand is miserable. The trick is to let a long soak do the scrubbing for you.
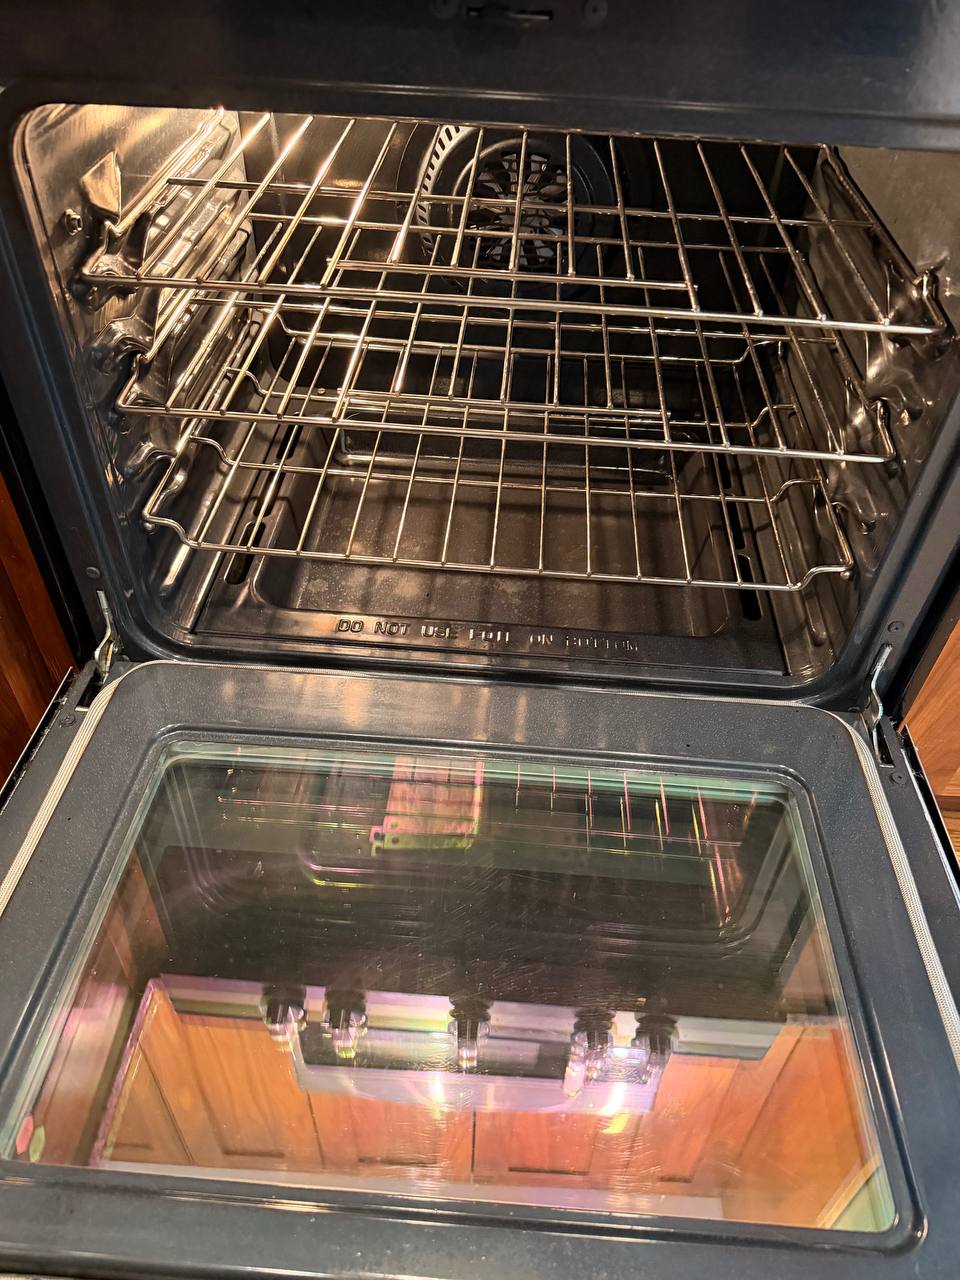
After the soak, most of the grime will wipe off with a sponge or a non-scratch scrub pad. For the last stubborn bits, a used dryer sheet or a nylon brush adds just enough grip. Drain the tub, give the racks a thorough rinse under running water to get all the soap off, and here's the step people rush: dry the racks completely before you put them back. Bare metal oven racks can flash-rust if they go back into a humid oven wet. Towel them dry and let them air out fully first.
If your oven has a self-cleaning cycle, it's tempting to just run it and be done. It works for the interior, but there's one rule you must not break: NEVER leave the racks inside during a self-clean cycle. The extreme heat of that cycle discolors the racks, strips their protective coating so they no longer slide smoothly, and can even warp them so they don't sit level anymore. Always remove the racks first and clean them separately using the soak method above. Your manual will say the same thing — this one's worth taking seriously.
The window in the oven door gets overlooked, and it's the part you actually look at every time you check on dinner. Grease and splatter bake onto the inside of the glass and turn it brown. The same baking-soda paste handles it: spread it on the interior glass, let it sit 15 to 30 minutes, then wipe and buff clear. For the outside of the glass, warm soapy water and a microfiber cloth is plenty. Avoid dripping water down into the door vents.
While the racks are soaking, it's the perfect moment to hit the stovetop, since it's right there and just as greasy. For a glass or ceramic cooktop, a baking-soda paste left to sit for a few minutes lifts cooked-on spills without scratching — then wipe with a damp cloth and buff dry. For gas grates, they can go into the same soak as the oven racks. Cleaning the oven and stovetop together, in one session, means you only set up and clean up once.
Be realistic about timing so you're not caught off guard. The active work is short — maybe 20 minutes of spreading paste, and another 20 to 30 minutes of wiping out and scrubbing the next day. But the dwell and soak time is where the hours go: overnight for the oven paste, and several hours to overnight for the racks. That's what makes this a "start it in the evening, finish it in the morning" project rather than a one-hour blitz. The upside is that almost all of that time is completely hands-off — the chemistry does the work while you sleep.
A little prevention saves you the overnight-paste routine. A few habits that genuinely help:
Do this and you'll only need the full baking-soda treatment two or three times a year instead of dreading it.
Beyond the smoke and the smell, a clean oven is one of those details that matters at move-out time. Landlords and property managers absolutely check inside the oven, and a greasy one is a classic reason for deposit deductions. If you're preparing to move, our Chicago move-out cleaning checklist explains exactly what's expected under Chicago's tenant rules — and the oven is on the list.
While you're deep-cleaning the kitchen, it makes sense to hit the other big appliances too. Our guides to cleaning stainless steel appliances and cleaning the inside of your refrigerator pair naturally with this one, and our room-by-room deep cleaning checklist ties the whole house together.
An oven is a lot of overnight waiting and elbow grease, and it's one of the first things people ask us to take off their plate. Spotless Home Cleaners has served Chicago and 70+ surrounding suburbs for 11 years with a background-checked crew, eco-friendly products, transparent pricing, and a 100% satisfaction guarantee. Our deep cleans include the appliances most people dread. Call us now and book your cleaning today, or learn more about our deep cleaning service and let us make your kitchen shine.









Keep your space fresh, clean, and stress-free with our full range of residential cleaning services in Chicago, IL. Whether you need routine maintenance, a deep clean, or move-in/move-out service, our expert team delivers spotless results every time.