When your home's tile floors or walls were first installed, the grout lines were likely a bright, uniform color that perfectly complemented your tile. But over time, those same grout lines can become discolored, grimy, and stained with dirt, mildew, and hard water. It's a frustrating problem that can make even a spotless kitchen or bathroom look dirty.
But don’t despair. You don't have to live with dirty grout. With the right tools and a little bit of effort, you can easily restore your grout to its former glory. This guide will provide you with a step-by-step process for how to clean grout and make your tile look brand new again.
The Best Method: Baking Soda and Vinegar Paste
This simple, non-toxic, and incredibly effective DIY method is the best place to start. The fizzing reaction between baking soda and vinegar is what helps to lift dirt and grime from the porous surface of your grout.
What You'll Need:
- 1/2 cup of baking soda
- A small amount of water
- A spray bottle with white vinegar
- A stiff-bristled brush (an old toothbrush or a dedicated grout brush)
- A clean cloth or paper towel
The Method:
- Create a Paste: In a small bowl, mix the baking soda with just enough water to form a thick, pasty consistency.
- Apply to Grout: Use your fingers or a spoon to generously apply the baking soda paste directly onto the grout lines you want to clean. Let the paste sit for about 15 minutes to allow it to begin breaking down the surface grime.
- The Fizzing Scrub: Once the paste has had time to set, spray the vinegar directly onto the paste. You’ll immediately see a fizzing reaction as the vinegar and baking soda combine. While it’s still fizzing, use your stiff-bristled brush to scrub the grout lines in a circular motion. This combination of the chemical reaction and the physical scrubbing will loosen even the toughest dirt.
- Rinse and Dry: Once you’ve scrubbed all the grout lines, wipe away the paste and residue with a clean, damp cloth. For a final touch, go over the tile and grout with a dry cloth to absorb any remaining moisture and reveal your sparkling clean grout.
Alternative Methods for Tough Stains
If the baking soda and vinegar method doesn't fully remove stubborn stains, you have a few other powerful options.
Hydrogen Peroxide: The Non-Toxic Whitener
Hydrogen peroxide is a fantastic non-toxic alternative that works as a powerful bleaching agent without the harshness of chlorine bleach. It's a great option for brightening discolored grout.
- How to Use: Pour 3% hydrogen peroxide into a spray bottle. Spray the grout lines liberally, and let it sit for about 15 minutes. The peroxide will bubble as it works to kill mold, bacteria, and lighten stains. Then, scrub with a brush and wipe clean.
Steam Cleaner: The Chemical-Free Solution
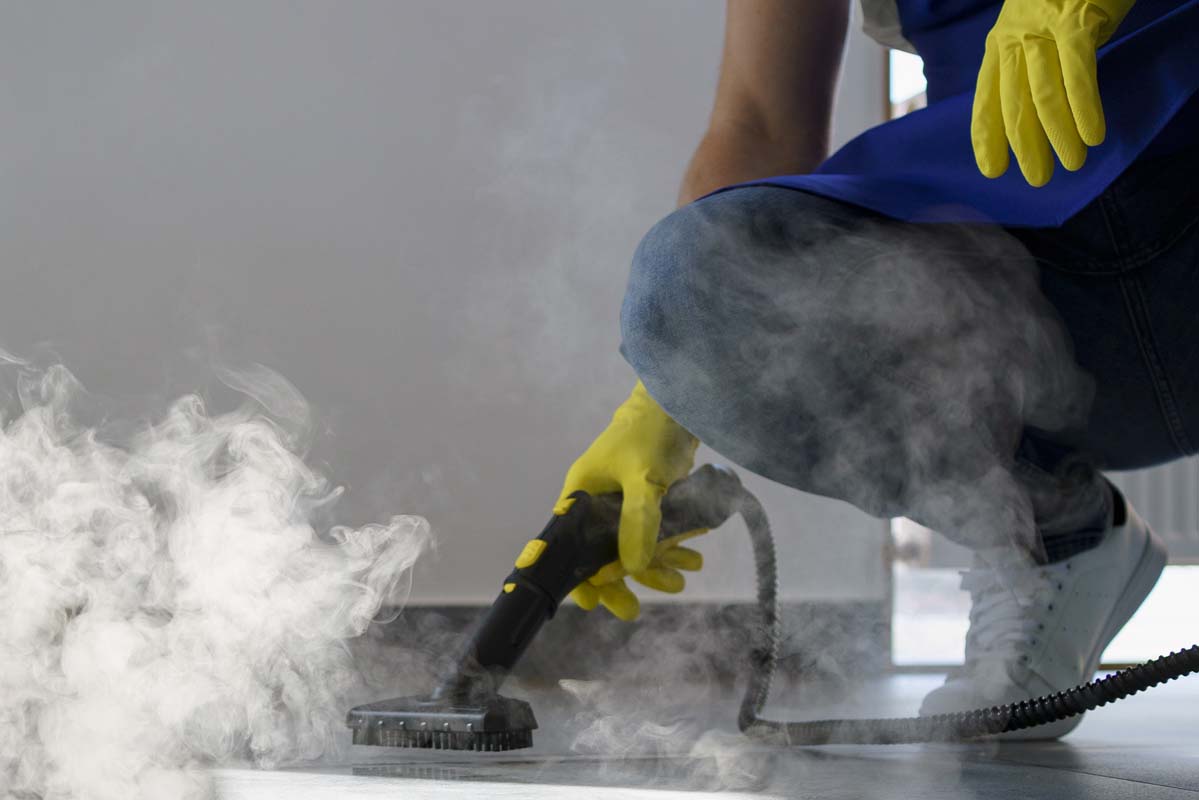
For those who prefer a completely chemical-free approach, a steam cleaner can work wonders. The high heat and pressure can break down and lift dirt from the grout lines without any cleaning agents.
- How to Use: Follow the manufacturer’s instructions for your steam cleaner. Use the focused nozzle on the grout lines, moving slowly to allow the steam to penetrate the pores and blast away the dirt.
Oxygen Bleach (Oxiclean): For Heavy-Duty Stains
For heavily stained grout that hasn't responded to other methods, a paste made from oxygen bleach powder (like Oxiclean) and water can be effective.
- How to Use: Mix the powder with warm water to form a paste. Apply it to the grout lines, let it sit for about 30 minutes, and then scrub. Be sure to rinse thoroughly afterward.
What to Avoid: Common Mistakes
Knowing what not to do is just as important as knowing what to do. Avoid these common mistakes to protect your grout and tile.
- Don't Use Chlorine Bleach: Pure chlorine bleach is a harsh chemical that can actually erode the porous surface of grout over time, making it more susceptible to staining in the future. The fumes are also toxic.
- Don't Use Abrasive Tools: Avoid using metal brushes or steel wool, as these can scratch your tile and damage the grout, making it rough and harder to clean in the future.
- Don't Use Too Much Water: While grout can handle some moisture, excessive water can weaken the grout and lead to problems. Always wipe and dry the area thoroughly after cleaning.
Long-Term Grout Care and Maintenance
Once you have your grout looking new, you'll want to keep it that way.
- Seal Your Grout: For long-term protection, apply a professional-grade grout sealant. This sealant creates a barrier that helps prevent dirt and grime from penetrating the porous surface.
- Quick Wipe-Downs: In the shower, a quick daily or weekly spray with a mix of water and vinegar and a wipe with a squeegee can prevent soap scum and mold from building up.
By using these methods, you can confidently tackle even the toughest grout stains. With a little effort, you can easily learn how to clean grout and give your tile floors and walls a fresh, clean look that makes your whole home feel brand new.
